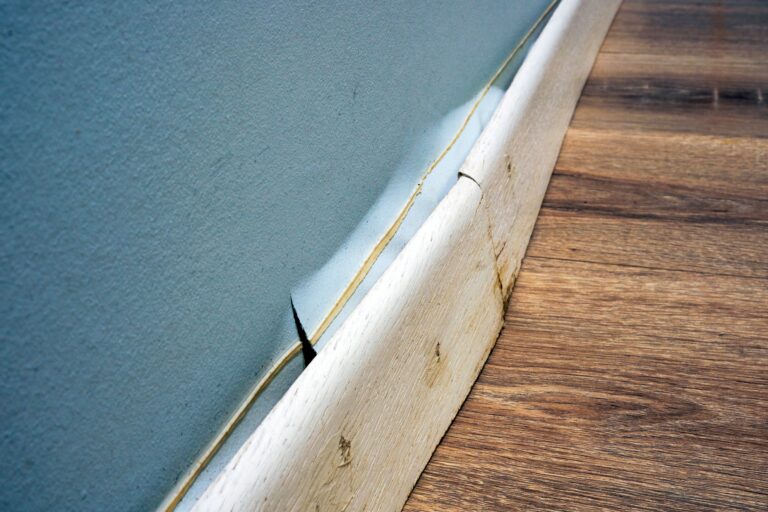
Water damage can wreak havoc on your property, and one of the common areas that suffer is the baseboards. When water seeps into the walls, it can cause baseboards to warp, swell, or even rot. Dealing with water-damaged baseboards may seem daunting, but with the right approach and a bit of know-how, you can restore them to their former glory. In this article, we will provide you with practical tips and step-by-step instructions on how to fix your lightly water-damaged baseboards.
Assessing the Damage
Start by closely examining the water-damaged baseboards. Look for signs of warping, swelling, discoloration, or softness. Pay close attention to areas near the floor, as they are most susceptible to water damage. Gently press on the baseboards to check for any sponginess or give, which indicates water penetration. Understanding the extent of the damage will help you determine whether the baseboards can be repaired or if they need to be replaced entirely. Minor damage can often be addressed through repairs, while severe damage may require replacement. Minor damage may involve slight warping or discoloration, while severe damage may include extensive warping, crumbling, or rot.
Removing the Damaged Baseboards
To begin the repair process, you need to remove the damaged baseboards. Score along the top edge of the baseboard with a utility knife to break the paint seal. This will make it easier to detach the baseboard from the wall. Gently pry the baseboard away from the wall, using a pry bar or a putty knife. Be careful not to damage the surrounding walls or the baseboard itself.
Drying the Area
Once the damaged baseboards are removed, it’s crucial to dry the affected area thoroughly. Moisture can lead to further damage and mold growth. Utilize fans, dehumidifiers, or heaters to promote airflow and expedite the drying process. Monitor the moisture levels and ensure the area is completely dry before moving on to the next step.
Repairing Minor Damage
If the damage is minor, you can often repair the baseboards rather than replacing them. Use a sandpaper or a sanding block to smooth any rough edges or imperfections caused by water exposure. Fill any cracks or gaps with a quality wood filler and allow it to dry completely. Once dry, sand the filled areas again for a smooth finish.
Replacing Severely Damaged Baseboards
If the damage to the baseboards is extensive or they are beyond repair, it’s best to replace them entirely. Measure the length of the damaged section and purchase a matching baseboard from a local home improvement store. Cut the new baseboard to size using a miter saw or a hand saw. Ensure the corners are cut at a 45-degree angle for a seamless fit. Apply a thin layer of construction adhesive to the back of the baseboard and carefully press it into place. Secure the baseboard with finish nails or a pneumatic nail gun, making sure the nails are countersunk.
Finishing Touches
Once the baseboards are repaired or replaced, it’s time to give them a finished look. Fill any nail holes with wood putty and sand them smooth. Apply a primer to the repaired or replaced sections, and then paint the baseboards to match the existing color scheme of the room. Allow the paint to dry completely before moving furniture back into place.
Conclusion
Repairing water-damaged baseboards may seem like a daunting task, but by following these detailed steps, you can restore them to their former glory. Remember to assess the damage carefully, remove the damaged baseboards with care, thoroughly dry the area, repair minor damage or replace severely damaged baseboards, and give them a professional finish.
Throughout the process, exercise patience, attention to detail, and thoroughness. If you are unsure about any step, if the damage is extensive or if mold is present, consult a professional. By taking the time to repair or replace water-damaged baseboards, you not only restore the aesthetics of your space but also prevent further issues such as mold growth or structural damage. Enjoy the renewed beauty of your home with impeccably repaired baseboards!


